TL;DR: AI Agents in Wrike are intelligent automations that observe your projects and take smart actions — from detecting risks to classifying requests or validating task details. You can start with prebuilt agents or create your own custom one. Available now in Wrike Labs — enable Work Intelligence Preview to try it out.
Hi everyone! 👋
We’re excited to introduce a brand-new capability in Wrike — AI Agents.
These are intelligent automation tools that observe your projects, analyze what’s happening, and take smart actions — helping your team stay efficient, proactive, and informed.
Unlike traditional automations that follow fixed rules, AI Agents understand context, analyze content, and make decisions — just like a helpful team member who never sleeps.
🧪 AI Agents are currently available as a Wrike Labs release.
You can start exploring them today by enabling Work Intelligence Preview in Wrike Labs.
🔓 How to enable AI Agents
- Go to Wrike Labs.
- Log in with your Wrike account.
- Switch on the toggle for Work Intelligence Preview.
🌟 What AI Agents Can Do
AI Agents are designed to bring intelligence to your workflows:
- Intelligent analysis: Read task descriptions, comments, and context to make informed decisions.
- Proactive monitoring: Continuously watch for risks, bottlenecks, and opportunities.
- Smart classification: Automatically organize and route work based on content understanding.
- Quality assurance: Validate incoming requests to ensure they include all necessary information.
They can post comments, update fields, or route tasks — all within seconds of detecting a change.
🧠 How AI Agents Work
Each agent has two components:
- Watcher – Monitors your spaces, projects, or folders for specific triggers (e.g., new tasks, overdue items, or field changes).
- Doer – Once triggered, analyzes the situation and takes action — posting comments, updating fields, or notifying teammates.
Response time is typically 2–5 seconds as the agent “thinks” through the best next step.
⚙️ Available Agent Types
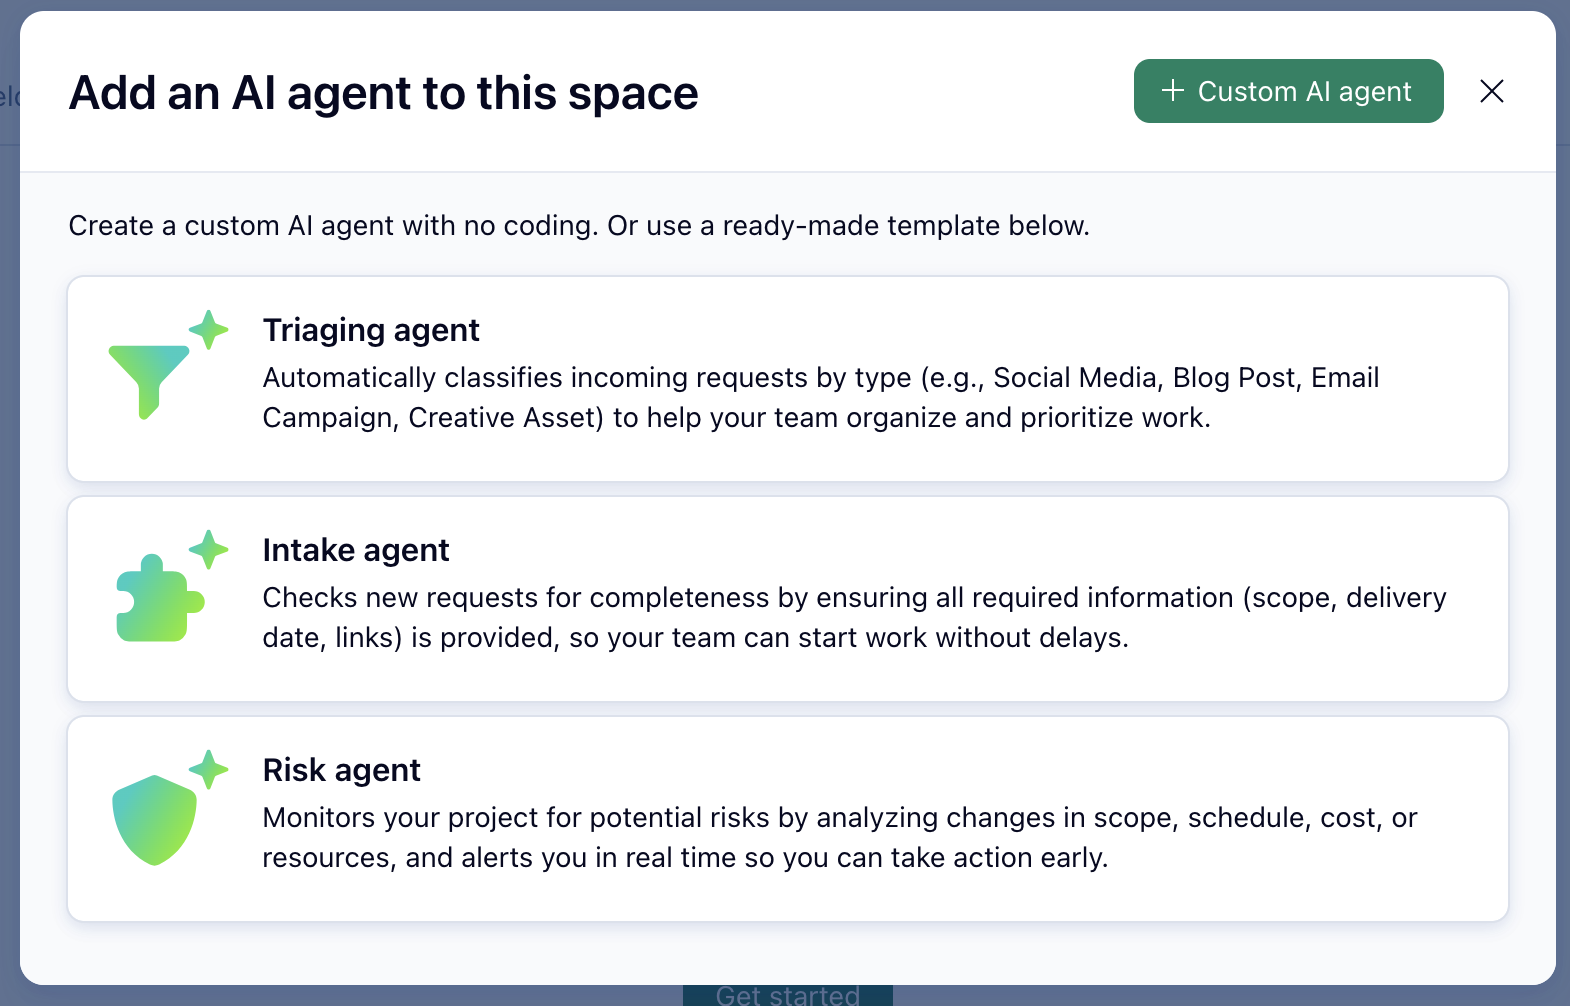
You can start with three built-in agents or design your own custom one.
1️⃣ Risk Status Reporter
- Purpose: Identify potential project risks early.
- What it does: Scans all tasks within a project or folder on a set schedule, finds overdue or blocked items, and posts a summary comment.
- Ideal for: Project managers who need an at-a-glance view of project health.
- Setup tips: Schedule daily or weekly runs. The agent posts its risk report as a comment automatically.
2️⃣ Triaging Agent
- Purpose: Classify and route incoming work based on content.
- What it does: Reads new task descriptions, identifies intent, and sets custom field values like priority, category, or type.
- Ideal for: Teams with high volumes of incoming requests.
- Setup tips: Define which custom fields the agent should populate and the classification options. It learns patterns and becomes more consistent over time.
3️⃣ Intake Agent
- Purpose: Validate that new requests contain all required details before work begins.
- What it does: Reviews task descriptions for missing info (like scope, deadlines, or resources) and posts validation comments.
- Ideal for: Teams that rely on structured request intake.
- Setup tips: Define what “complete” means for your team (e.g., must include deadline, design link, and assignee).
4️⃣ Custom Agent
- Purpose: Build your own intelligent automation tailored to your workflow.
- What it does: You define its role, logic, and triggers. Choose actions like posting comments or updating fields.
- Ideal for: Advanced teams that want to automate unique workflows.
- Setup tips: Write a clear prompt describing what the agent should look for, how to decide, and what to do in each case. Test it in the playground before deploying.
🧩 Setting Up AI Agents
You’ll need Space Admin permissions to configure agents.
Setup steps:
1) Go to your Space settings → AI Agents.
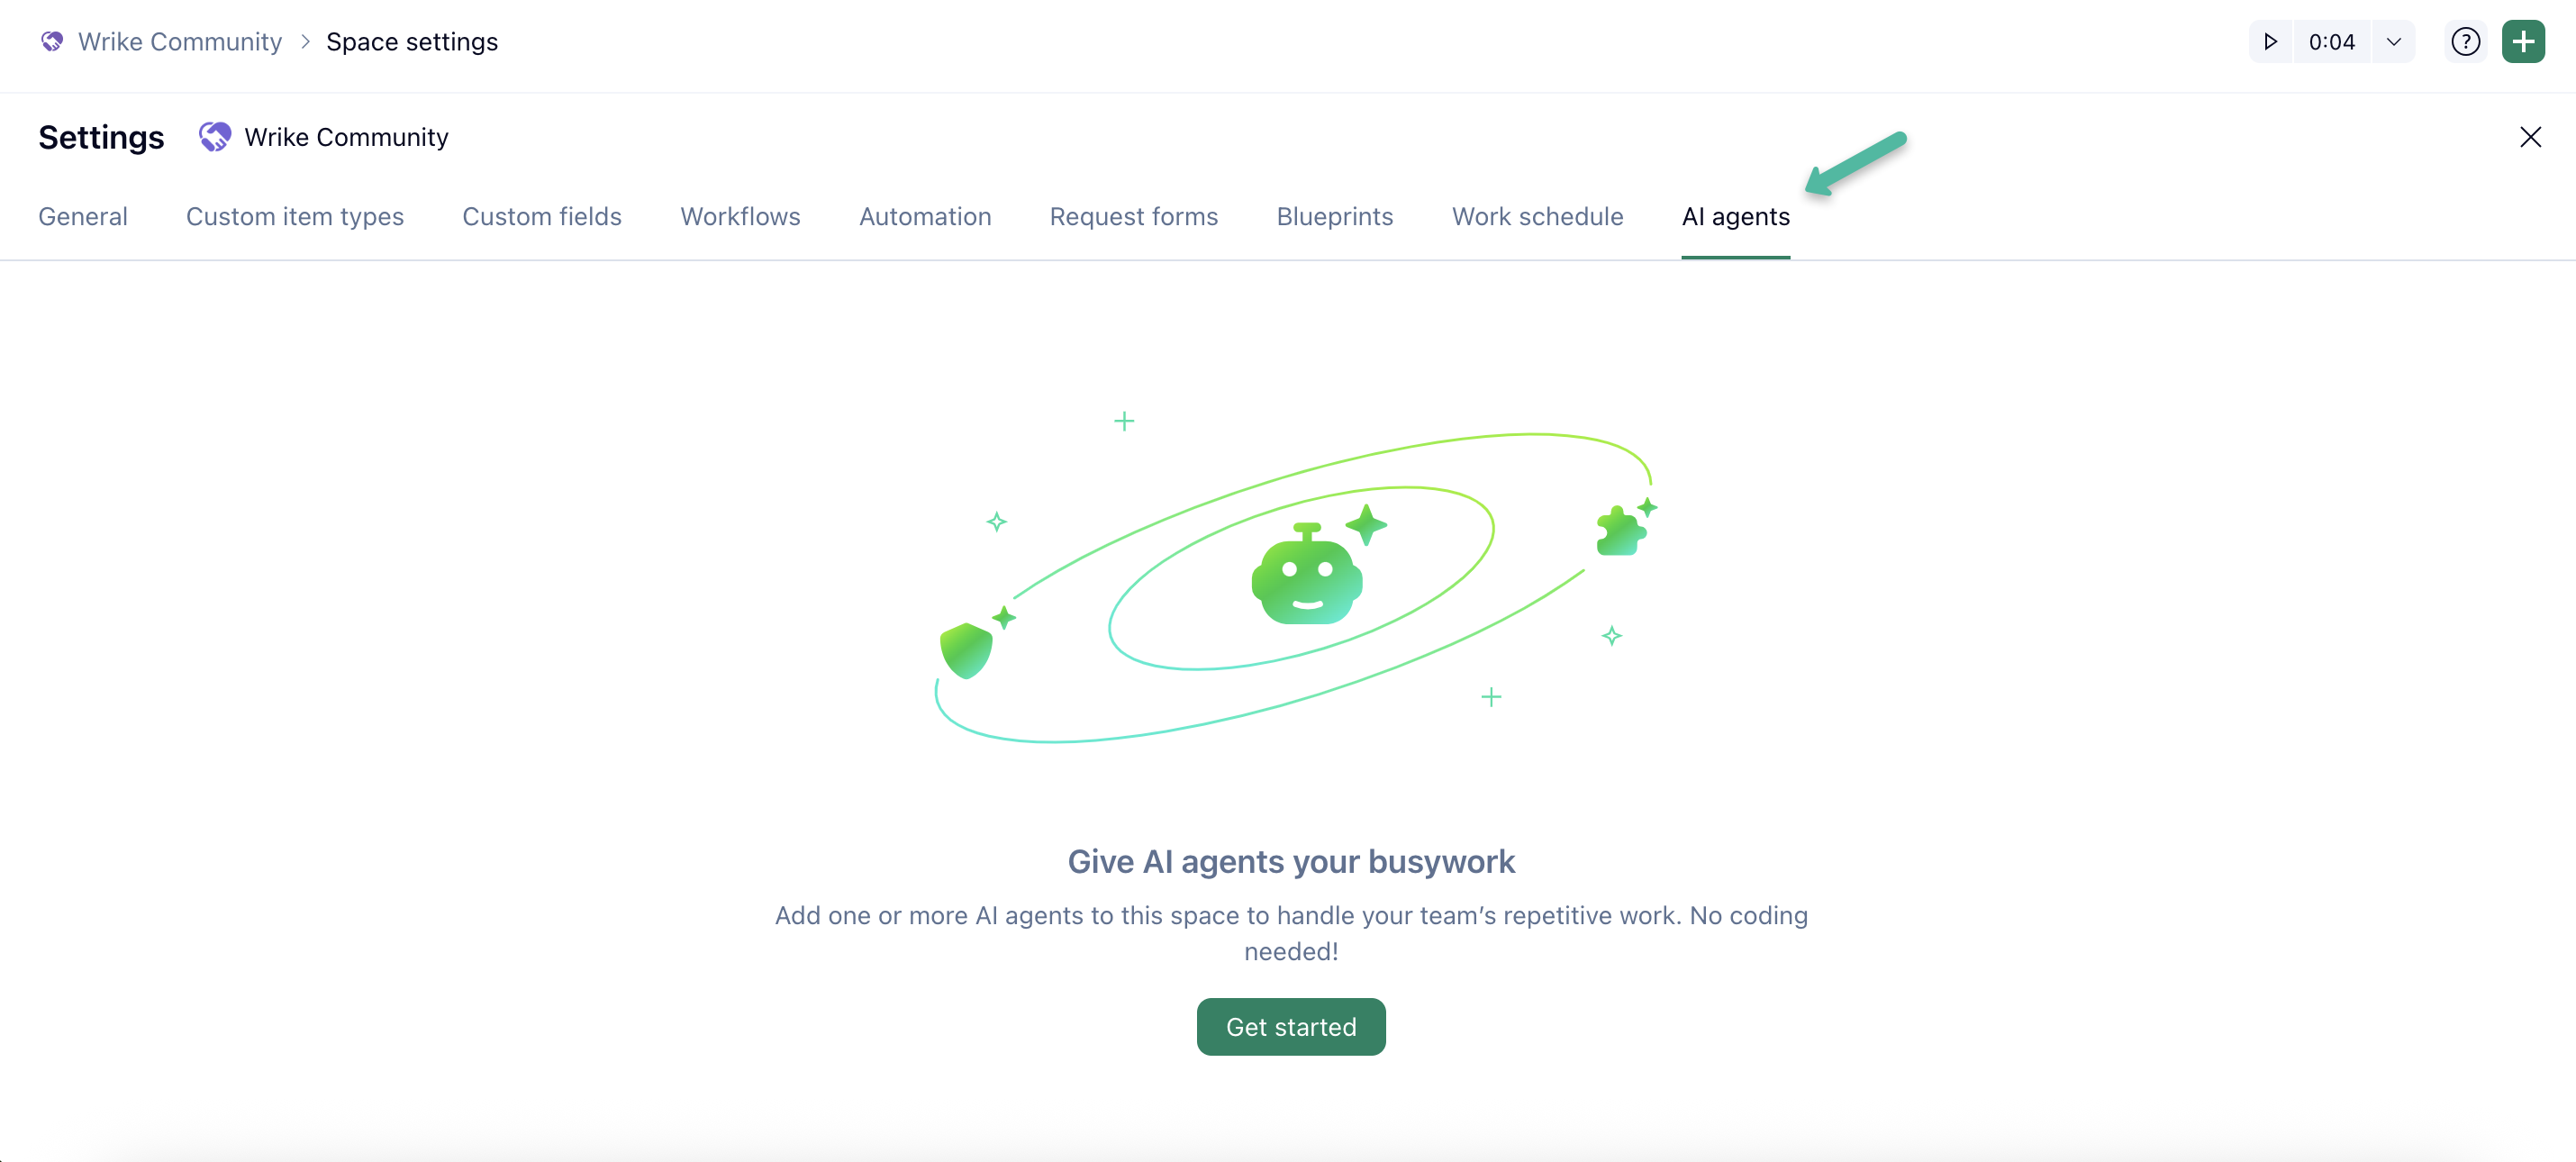
2) Select an agent type (Risk Reporter, Triaging, Intake, or Custom).
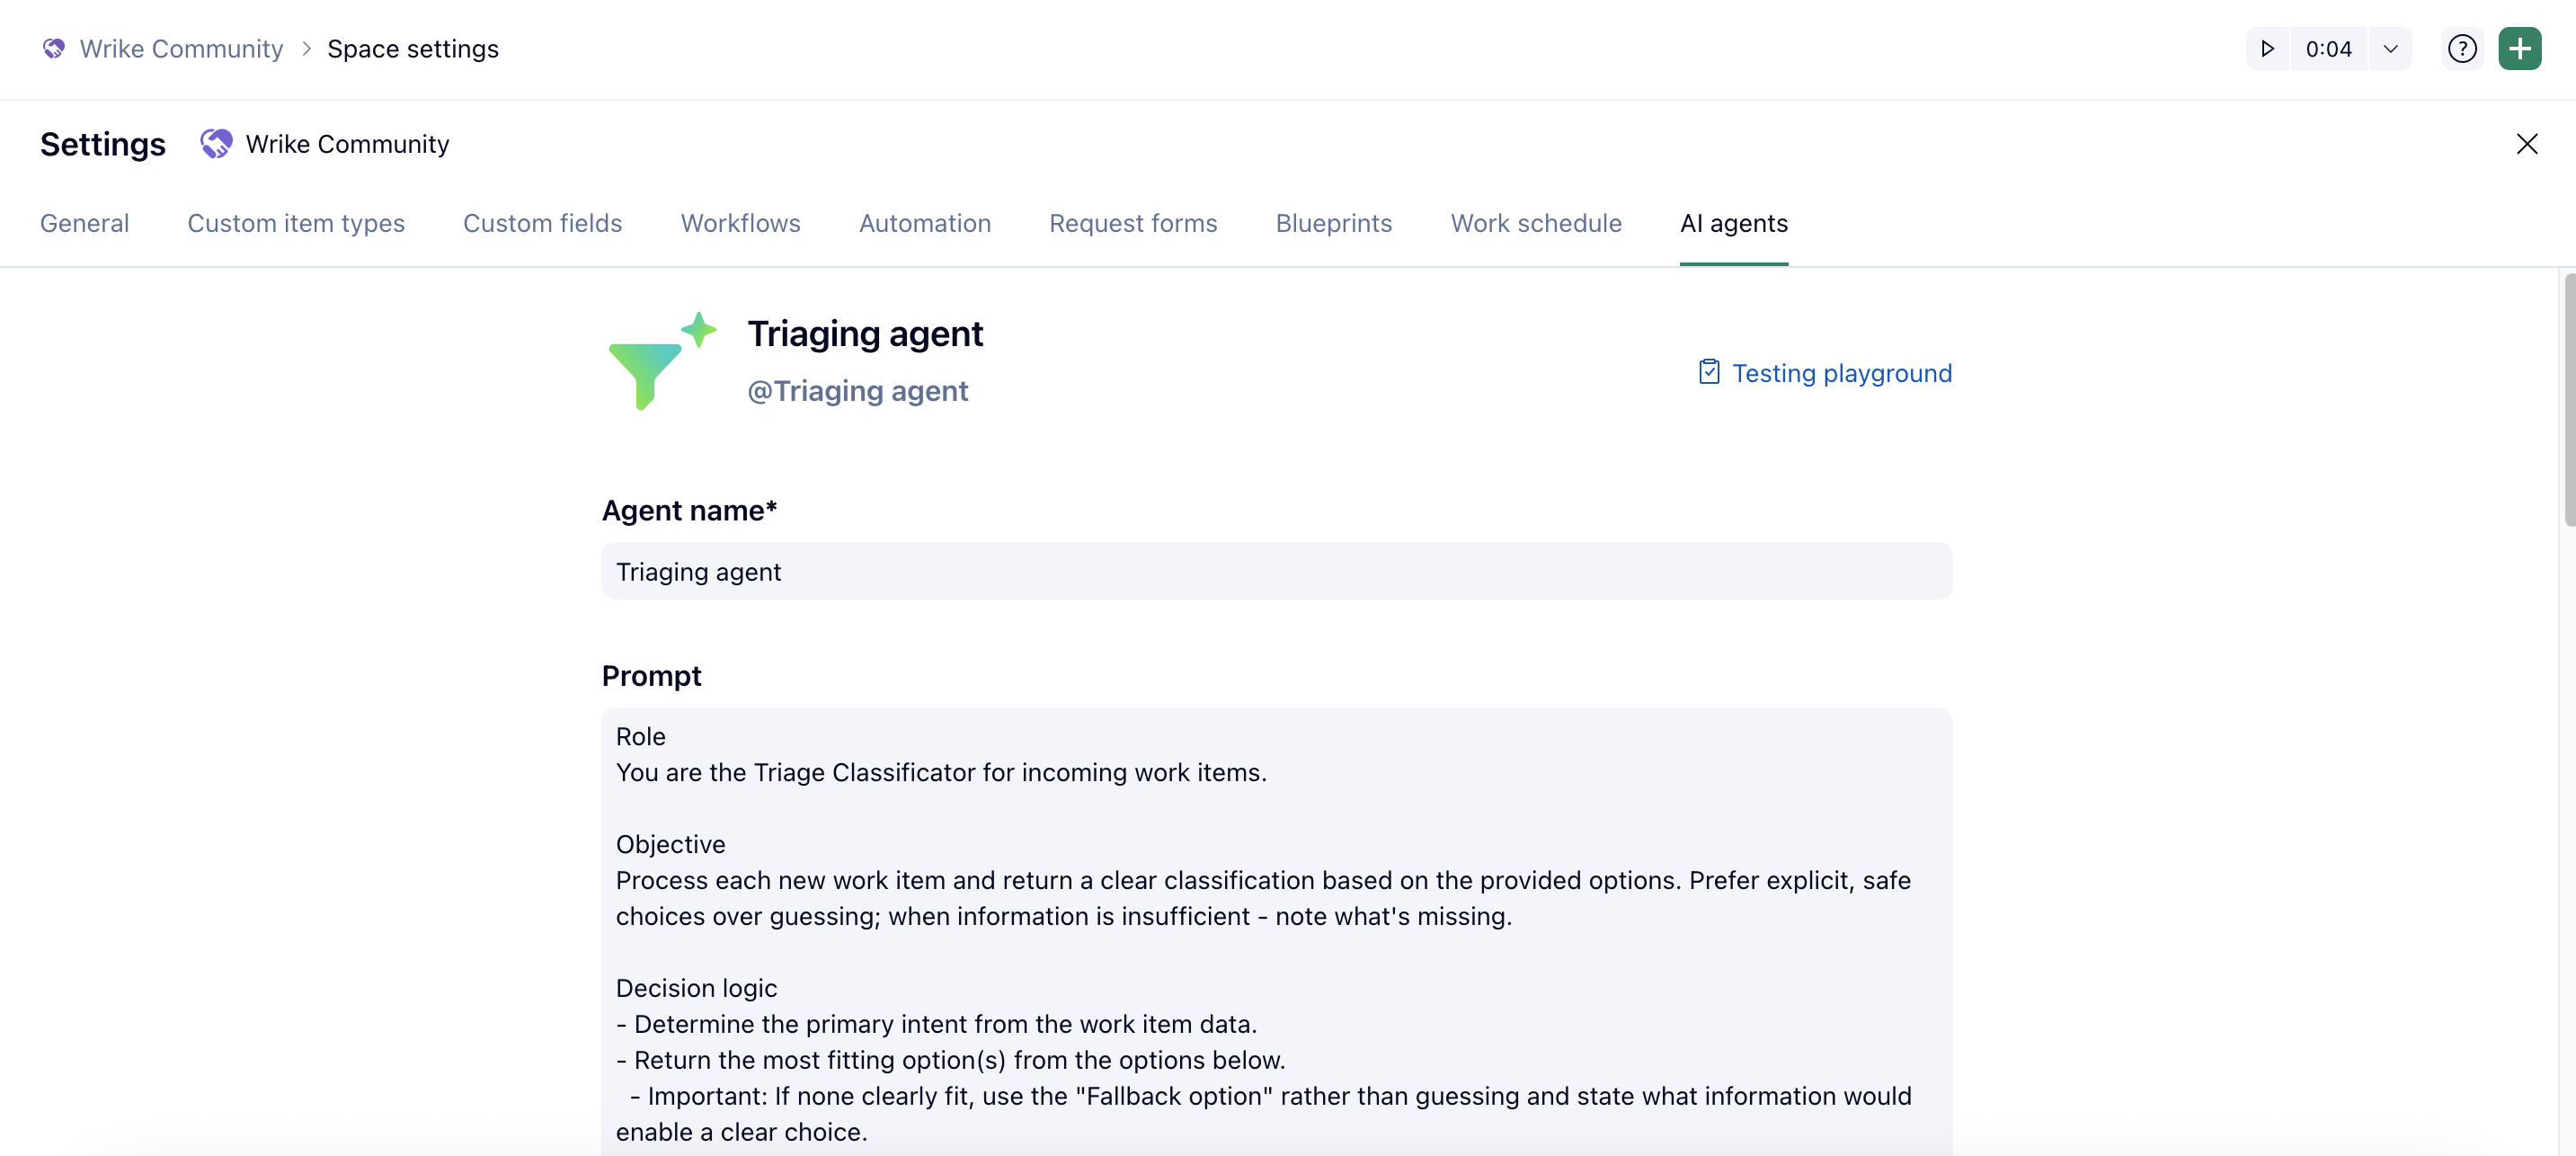
3) Configure details:
- Name your agent
- Write a clear prompt (role, logic, expected actions, fallback behaviors)
- Add example inputs/outputs if needed
4) Set the scope:
- Item where the agent was added → for aggregate actions (like Risk Reporter)
- Sub-items of that item → for task-level actions (like Intake or Triage)
5) Choose triggers: Scheduled (daily/weekly) or event-based (e.g., new task, status change).
6) Define actions: Post comment, update field, or both.
7) Test your setup in the Testing Playground to preview how the agent reasons and responds.
8) Deploy once satisfied.
🛠️ AI Agent Builder: Assign Work Items to Users
AI Agents are able to automatically update work item names and assign tasks to users by analyzing context, availability, and workload. This capability is available for Custom Agents and supports dynamic allocation of work within your team.
How does automatic task assignment with Custom AI agents work?
When you set up a Custom AI agent and configure the appropriate details, you can select an action to update the Assignee field and automatically assign tasks. The agent will analyze available user information and follow the rules defined in your prompt. Specifically, the agent considers:
-User profile details such as name, country, location, time zone, job role, and department.
-User groups, including group membership and admin status.
-Current workload, based on the number of tasks already assigned to each user.
For more details on configuration requirements, assignment methods, and related topics, please refer to this article.
📊 Monitoring & Managing Agents
After deployment, track performance in the AI Agents dashboard:
- View all agents with recent activity, actions taken, and timestamps.
- Open detailed logs to see:
- The item affected
- Trigger event
- Action performed
- Full reasoning behind the agent’s decision
Best practices:
- Review logs weekly to ensure expected behavior.
- Monitor success/failure status.
- Adjust prompts for clarity and consistency.
🧠 Writing Effective Custom Agent Prompts
Do:
✅ Be specific about what to look for and how to act.
✅ Include examples of desired outcomes.
✅ Define fallback behaviors (e.g., “If unclear, post a comment asking for clarification”).
✅ Use natural language — think of it as instructing a colleague.
✅ Test in the Playground before deployment.
Don’t:
🚫 Overcomplicate your prompt with multi-step logic.
🚫 Assume the agent understands internal terminology.
🚫 Skip testing before deployment.
🚫 Forget to handle edge cases or missing information.
💬 Chatting with an Agent
Chatting with an agent in Wrike enables you to inquire further about the steps it performs on your tasks and projects. Take advantage of this feature to gain clarity on the agent’s choices and thought process - all within a private chat.
How to Start a Conversation with an Agent?
- Navigate to the project or task's comment stream where the agent took action.
- In the comment box, @mention the agent you want to chat with.
- A private chat panel will open on the right side of your screen.
- Type your question and press Enter to chat with the agent.
💡 Optimization Tips
- Start small: Test one agent type in a single folder before scaling up.
- Test first: Always validate in the Playground — see how the agent “thinks.”
- Combine agents: Use Intake + Triaging together for end-to-end request handling.
- Review often: Refine prompts based on logs and team feedback.
- Communicate: Let your team know when agents are active and what they’ll automate.
⚠️ Known Limitations
- Non-deterministic: Agents may give slightly different outputs for identical inputs — that’s normal AI variability.
- Context boundaries: Agents only “see” data within their assigned scope.
- Language clarity: Clear, descriptive text improves accuracy.
- Response time: 2–5 seconds per action, depending on folder size and complexity.
🧩 Troubleshooting
Agent not responding?
- Ensure it’s active and properly configured.
- Check if the trigger conditions are being met.
Inaccurate classifications or actions?
- Review the prompt for clarity and specificity.
- Provide examples or adjust fallback behavior.
- Verify that the task description contains enough context for the agent to reason accurately.
🚀 Getting Started
We recommend beginning with an out-of-the-box agent like the Risk Status Reporter or Intake Agent to get immediate value and see how AI can enhance your team’s workflow. Once comfortable, explore Custom Agents to build your own intelligent automations.
For thorough instructions and information regarding AI Agents, consult our Help Center article.
💬 We’d love to hear from you!
What kind of agent would make the biggest impact on your team?
Have you already started experimenting with AI Agents? Share your use cases, ideas, and lessons learned below 👇